


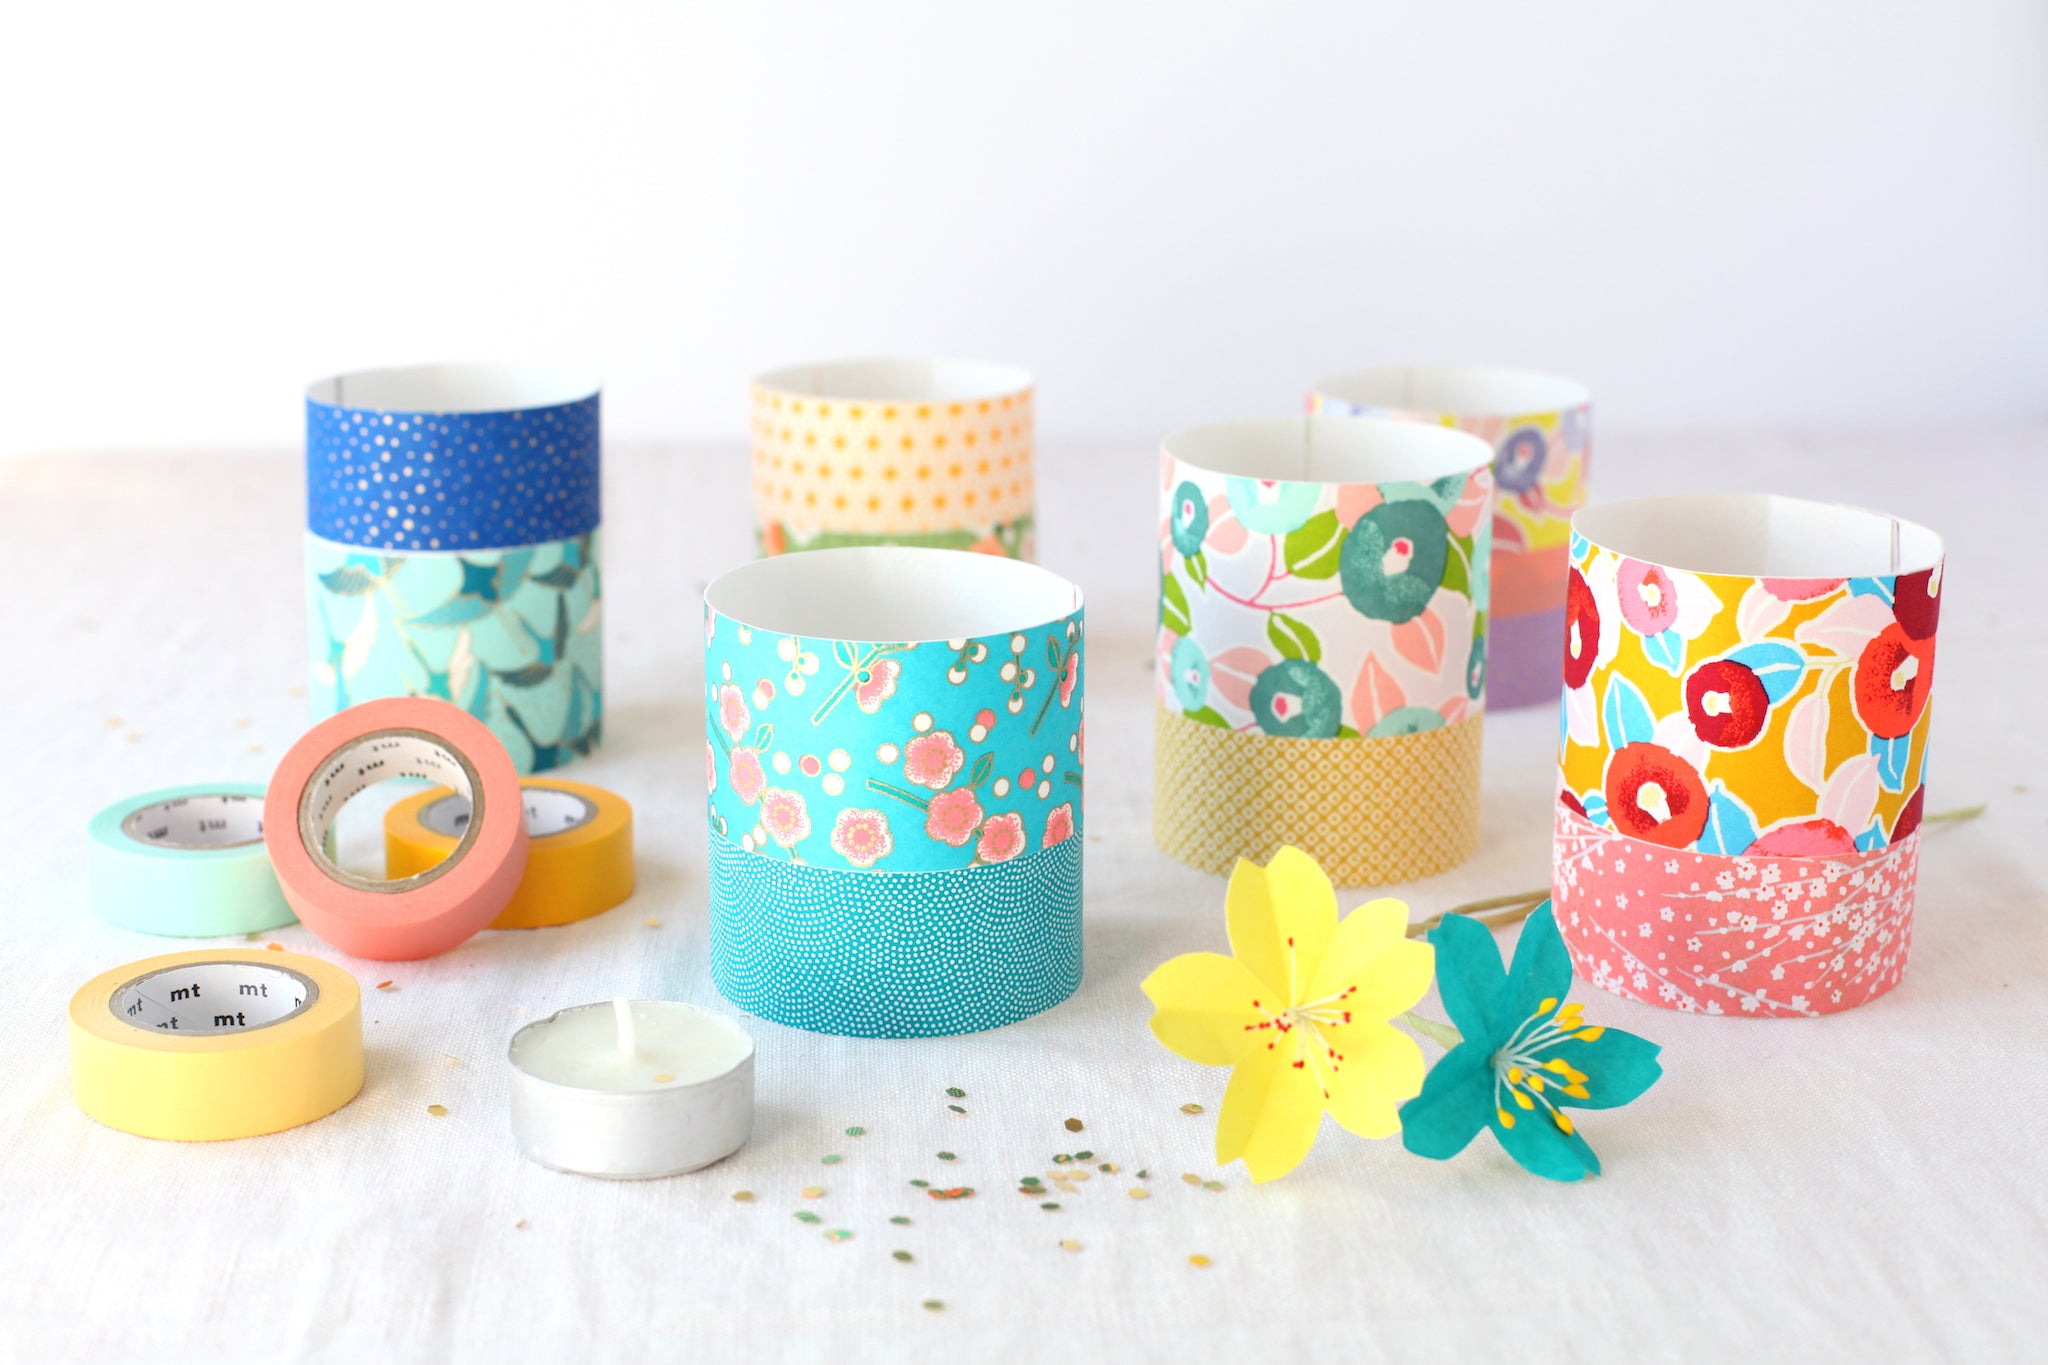
TUTO Colorful tealight holders made from Japanese paper
Chatting over a good meal outside, by candlelight, is one of the simple pleasures of summer! For this second “Feet in the water” tutorial, I suggest you learn how to make your own little colorful tealight holders to decorate a pretty table.
These little candles can also be used the rest of the year to bring little warm touches of light to a coffee table, a shelf, the edge of a fireplace, especially at the end of the year when the days are getting shorter.
In order to make these little colorful tealight holders, you will need (to make one):
- a small glass jar (yogurt pot type)
- a tealight candle
- a strip of rigid white paper 21cm wide by 7cm high (between approximately 160 and 210 g/m²; below 160g/m², the paper will not have enough hold and above 210g/m², the paper will be too thick to easily form your cylinder)
- scraps of Japanese paper
- rolls of masking tape (optional)
- white glue (to stick the Japanese paper)
- gel glue (to close your tealight holder)
- a brush
- a pair of scissors
It couldn't be simpler to make!
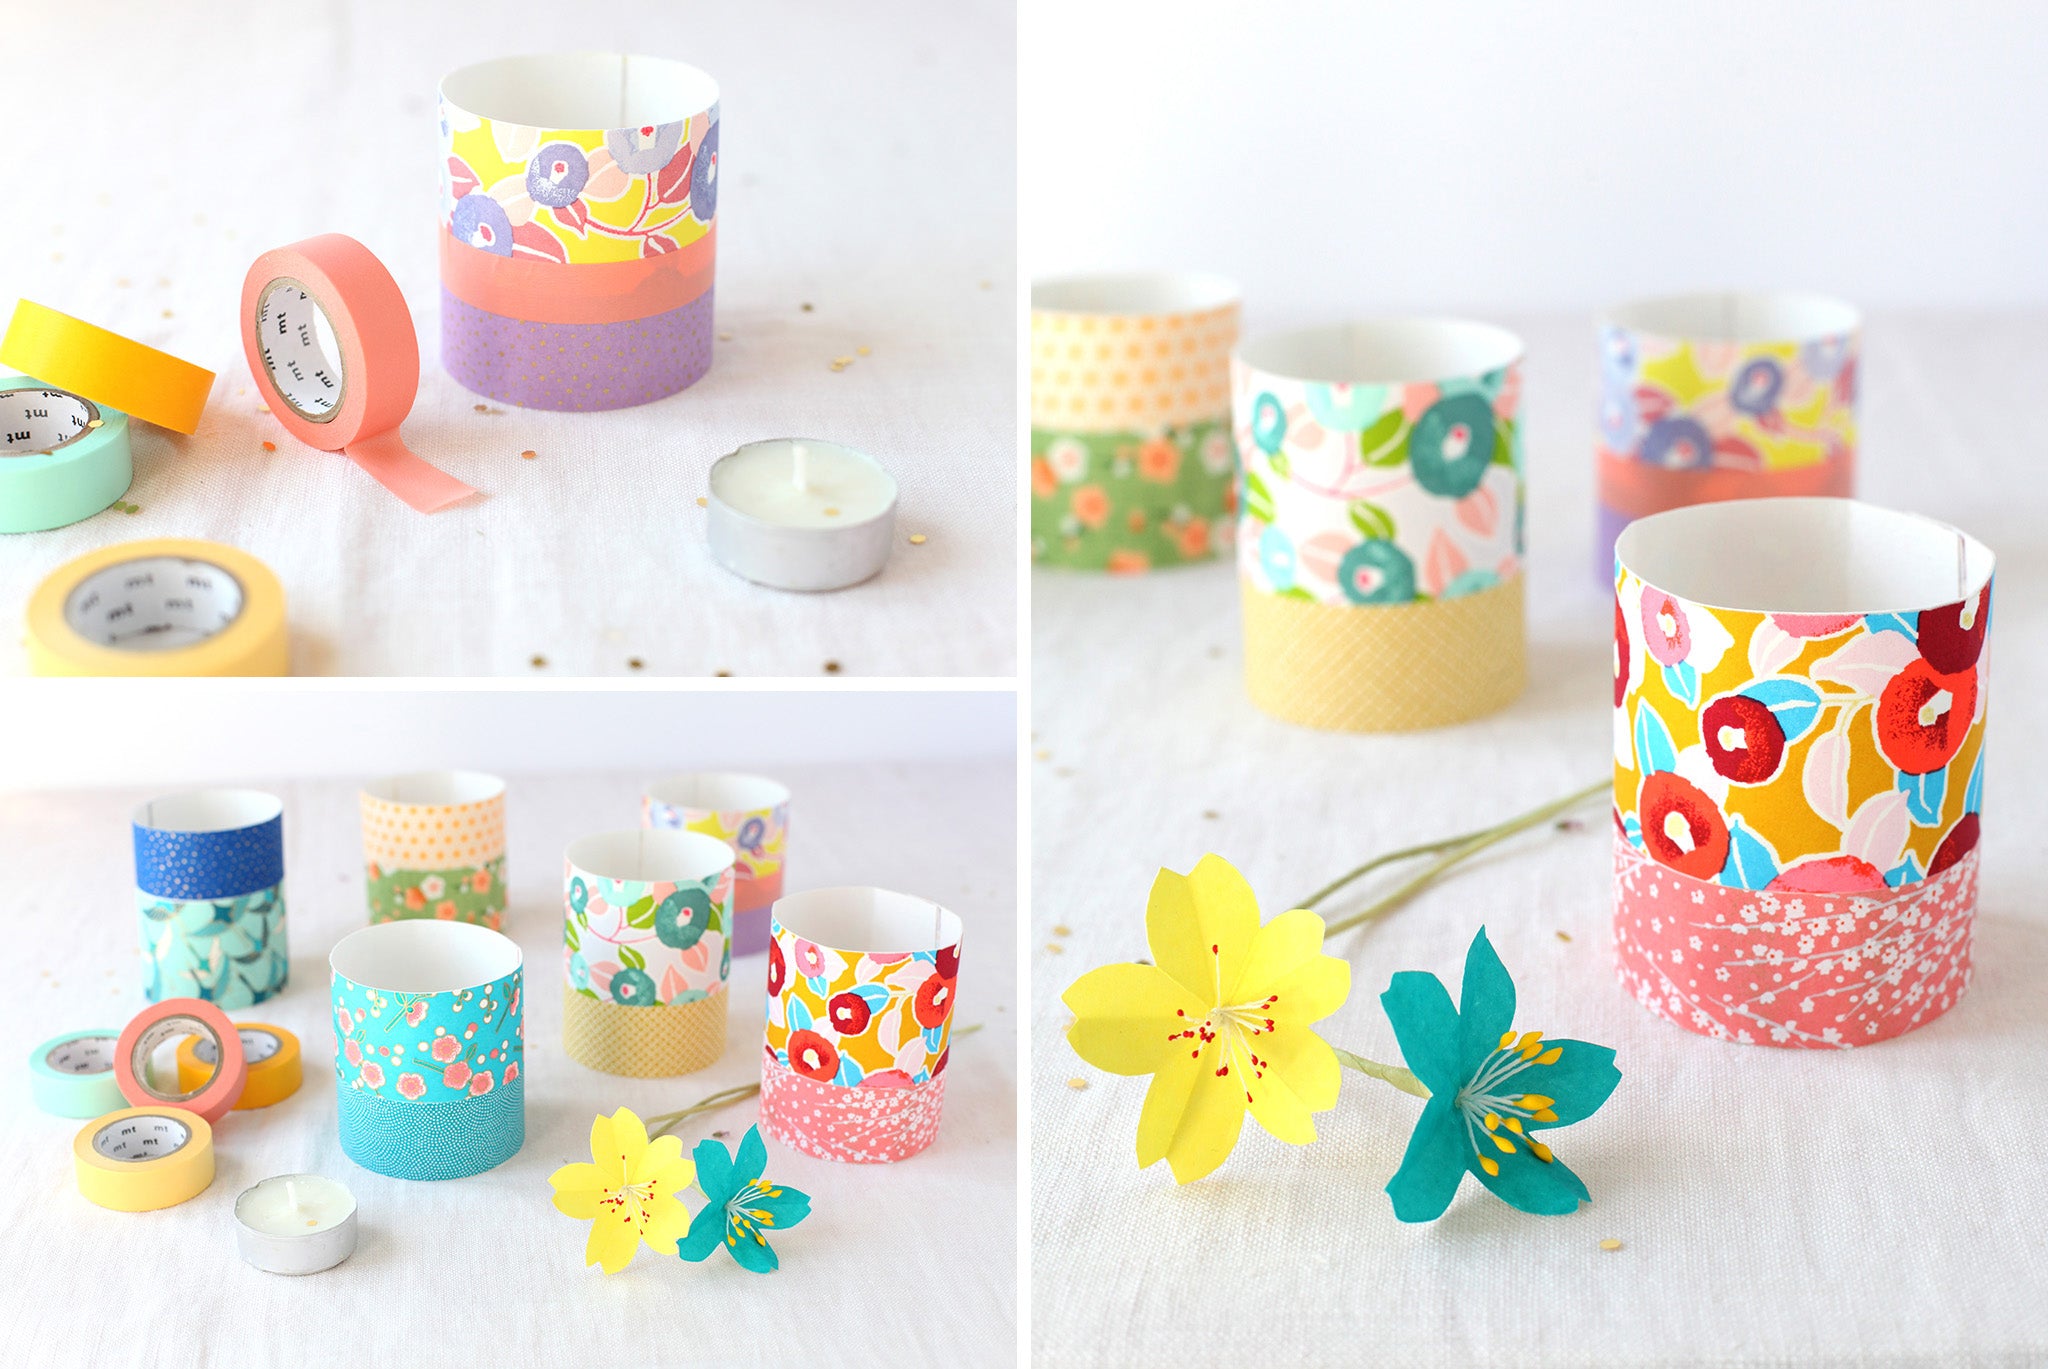
- Cut strips of different heights from your scraps of Japanese paper. Do not hesitate to vary the number of strips from one tealight holder to another. Here, we used two strips per tealight holder but it is entirely possible to multiply them to have 3, 4, 5 strips...! Lay your strips flat and have fun composing your ranges according to your table. You can decorate everything with plain (or patterned) masking tape according to your preferences.
- Using white glue, carefully glue your strips of Japanese paper to your strip of white paper, one below the other, alternating them with masking tape if you wish. Let dry.
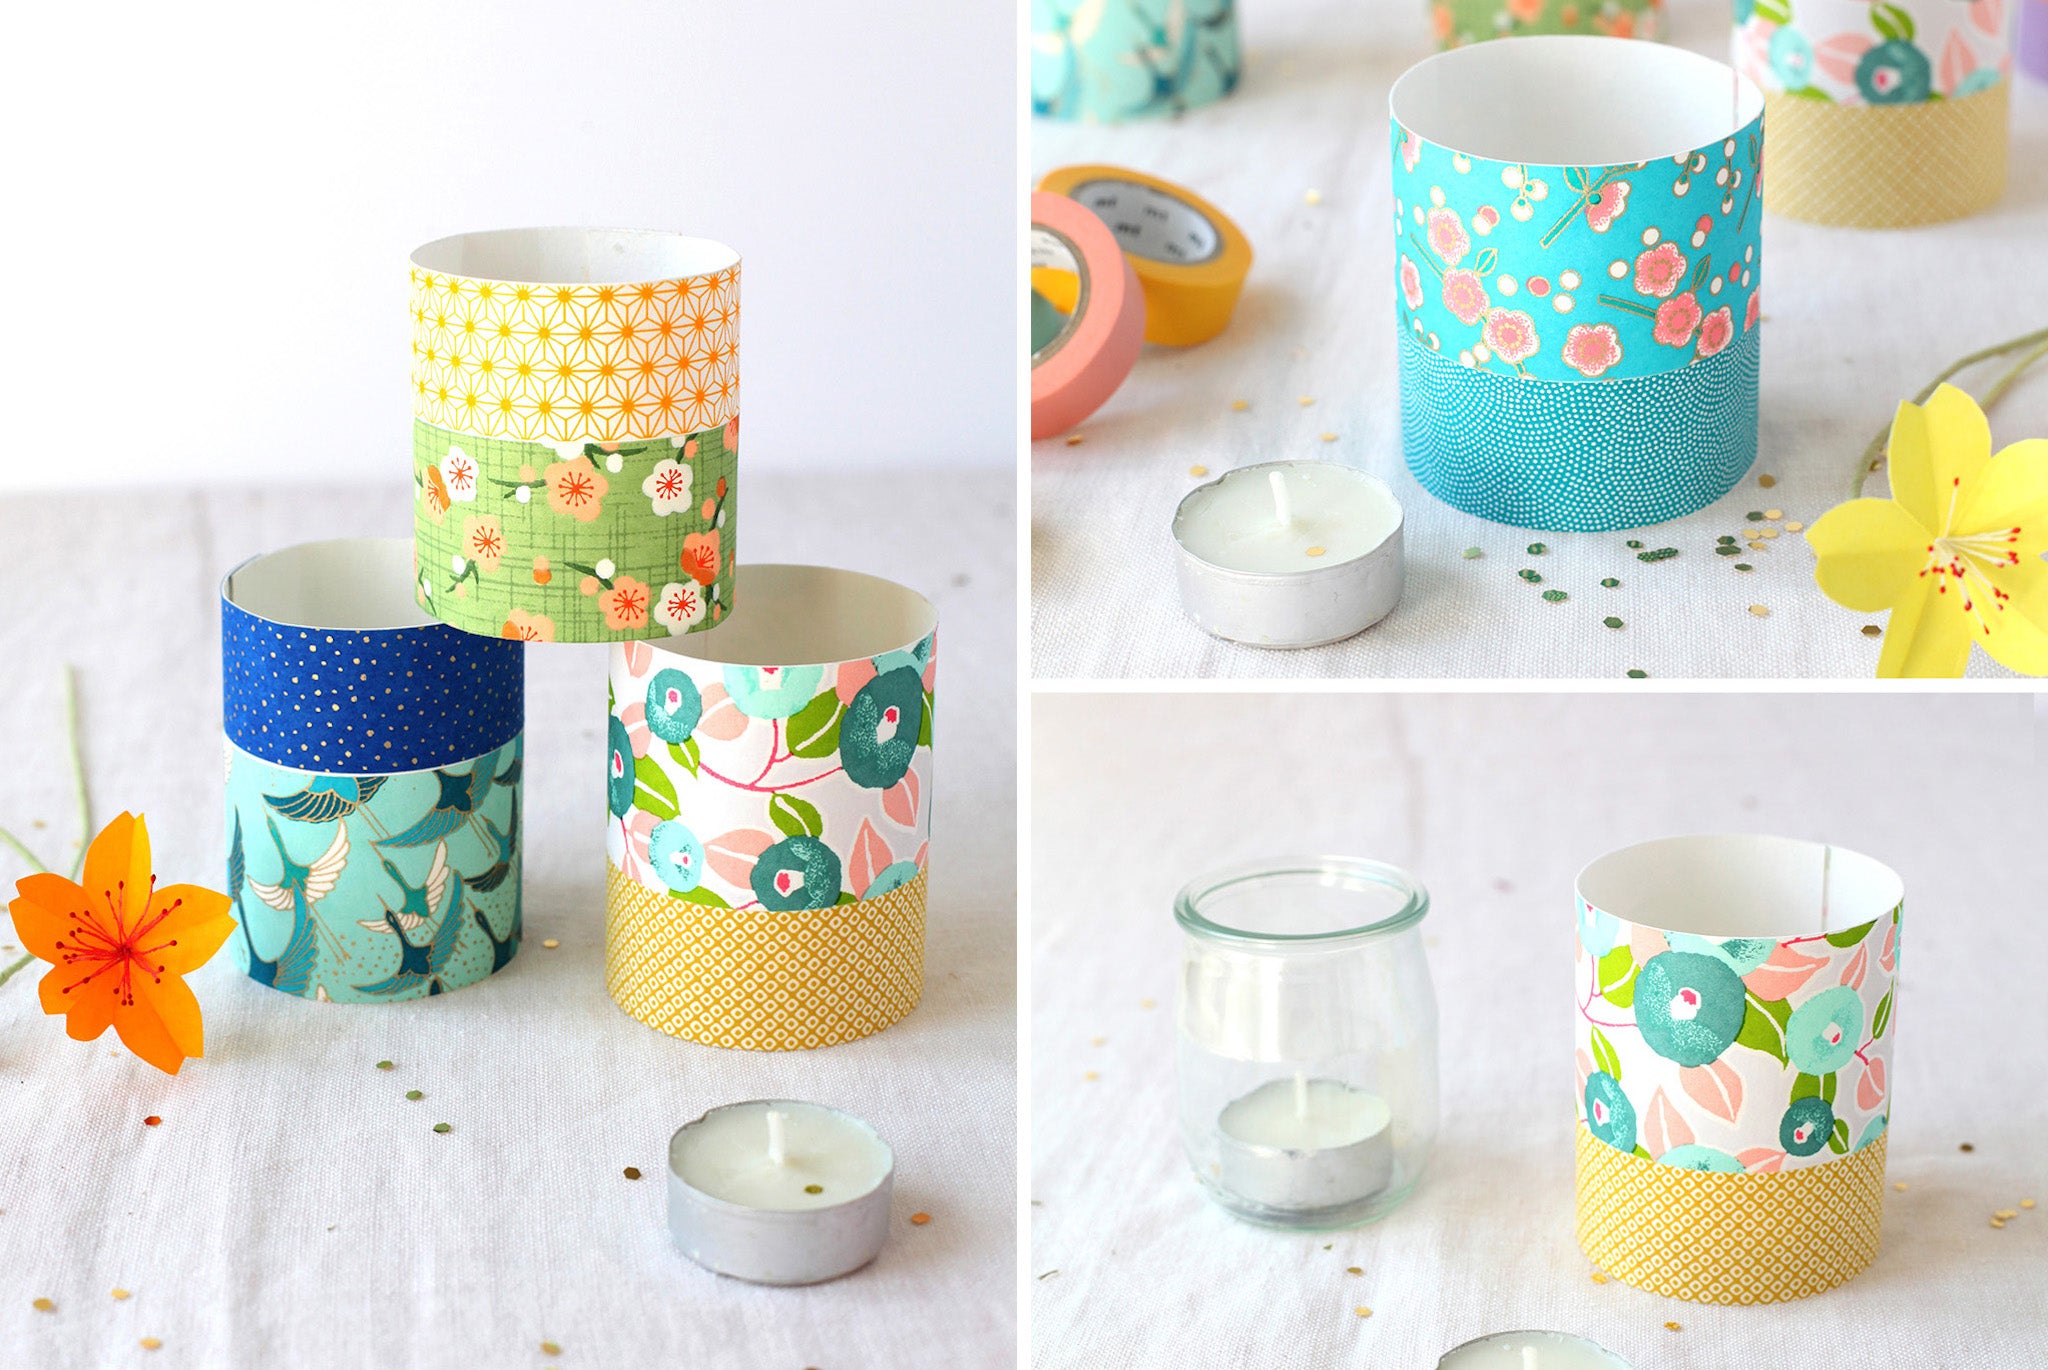
- Gather the two ends of your strip around the glass jar and adjust if necessary. If your strip is too big, cut off the excess. Apply gel glue to the entire height of the paper strip and close it to make a small cylinder. Leave to dry, possibly holding the strips together using a paper clip or clothespin.
TADA! Your colorful Japanese paper tealight holder is ready!
NB: The dimensions of the strip of white paper are suitable for a small, relatively tall and narrow yogurt pot, which you can easily find in stores.
Depending on the pots collected, adapt the dimensions of your strip of rigid white paper. To do this :
- Measure, using a flexible meter, the width and height of your pot.
- Add 2 to 2.5cm to the initial width (in order to obtain a sufficient diameter to surround the small glass pot and be able to apply the glue) and 0.5 to 1cm to the initial height (so that the glass pot does not exceed not the tealight holder) in order to have the right dimensions to cut your strip of paper.
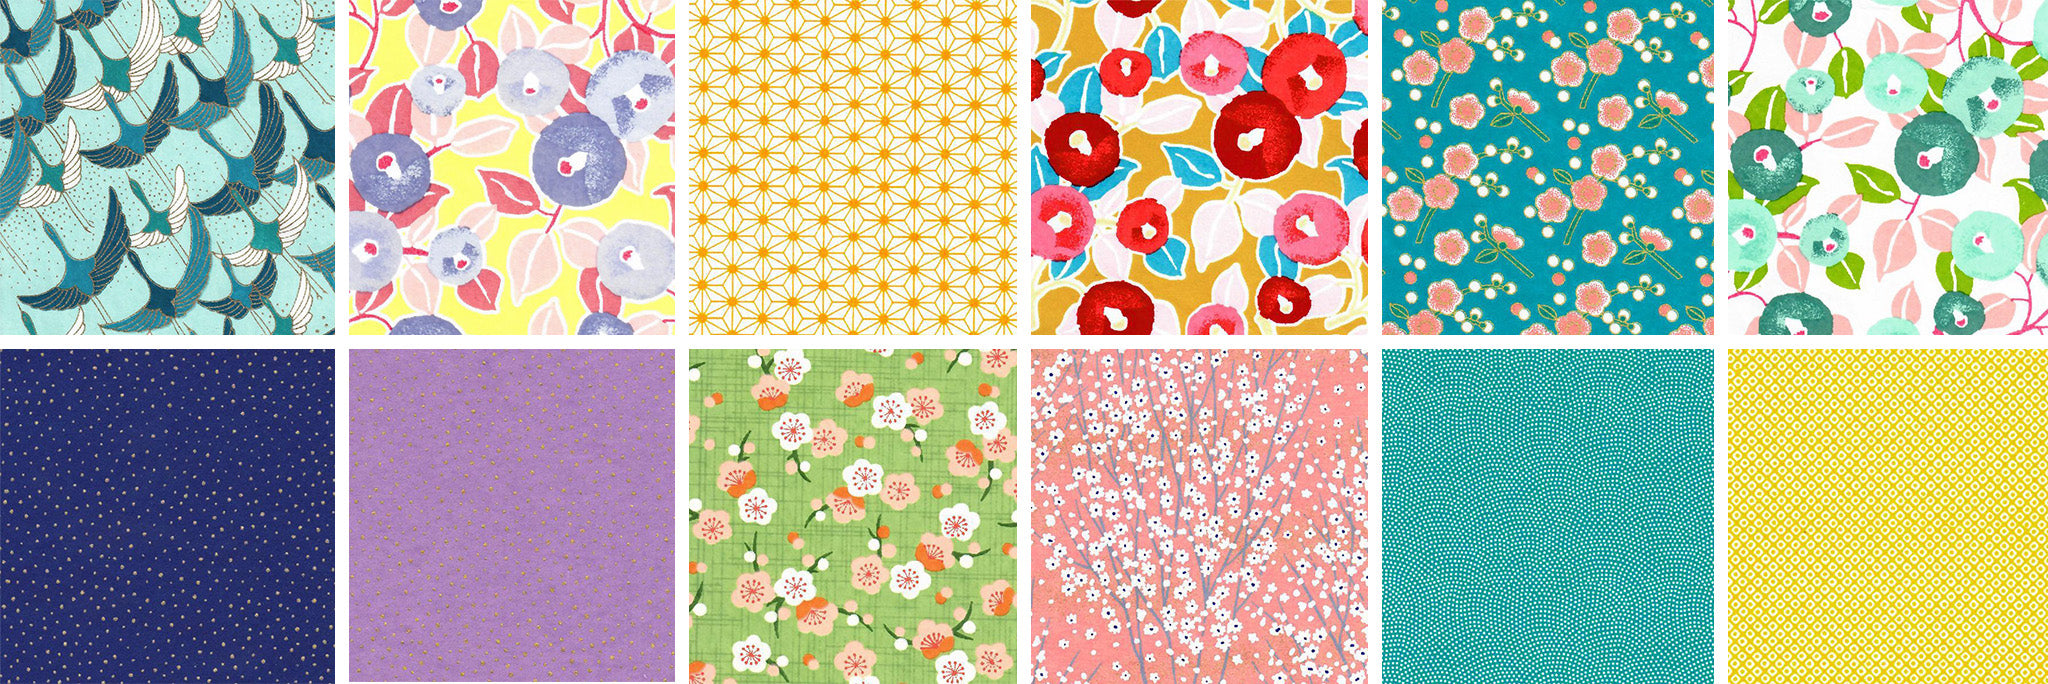
Here is the selection of papers used for the small tealight holders in this article if you liked it (from left to right, top to bottom): M827 , M804 , M430 , M802 , M831 , M809 , M716 , M756 , M788 , M810 , M598 and M603 .
I also made these little Japanese paper tealight holders in a more festive range in warm tones for a Christmas item around the “6 DIYs for a festive table” table decoration!

I hope you liked this second tutorial, simple and quick, and will have made you want to use all your little scraps of Japanese paper to make adorable colorful tealight holders!
Discover our 2 other tutorials in the “Feet in the water” series:
Have a great summer!
Adeline


NATHALIE DEJOS : Merci à vous pour votre gentil commentaire ! Effectivement, c’est un bon moyen pour utiliser les petites chutes de papiers japonais que nous accumulons au fur et à mesure de nos projets créatifs ;)
Super merci bcp,, trop dr chutes de papier je vais utiliser, bravo pour vos tutos,,
Leave a comment