Spring DIY IDEAS
Spring, more than any other season, makes me want light and color! So I wanted to share with you, in this new article, some creative ideas inspired by spring. These creations can also, if you wish, be adapted to an Easter decoration!

Flowers are, whatever the season, a favorite subject that never ceases to inspire me! So I brought together different colorful creations around spring, from among other things my book and the blog.
- or our “ Crepon Daffodil Bouquet Kit – Yellow, Orange, Coral and Green ”.


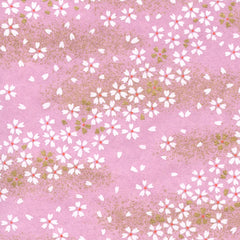
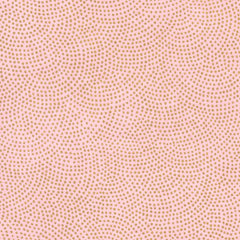
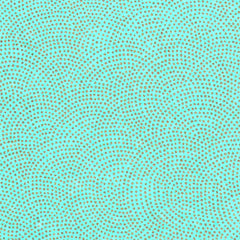
If you like this assortment of colors and would like to reproduce it, I have listed below the different references of Japanese papers used:
When we work on cutting Japanese paper at the shop, it is not uncommon for us to find ourselves with scraps of paper. We use them, among other things, to close gift packages at the store! I wanted to use it to decorate adorable little polystyrene eggs and thus create a pretty Easter decoration.

For the tutorial, nothing could be simpler! To customize Japanese paper Easter eggs, you will need:
- polystyrene eggs ,
- acrylic paint in the colors of your choice for painting the eggs,
- fine falls of Japanese paper ,
- white vinyl glue for gluing the paper,
- a brush for painting eggs ,
- a wooden skewer to make painting the eggs easier,
- And a few sheets of “rough” paper which will serve as a support for the collage.
TIP: To optimize the gluing and painting steps, do not hesitate to have a small wet towel on hand so that you can wipe your hands regularly.

- To make the egg painting stage easier, gently prick one of your polystyrene eggs at its base using a wooden skewer. Then apply a thin layer of acrylic paint over the entire surface of your egg. Let dry.
- If your scraps of Japanese paper are too long, be sure to re-cut them to the dimensions of your egg, starting from the base to the top of your egg. Gently apply vinyl glue to your Japanese paper scraps, strip by strip.
- Then place your scraps of Japanese paper, from the base to the top of your egg.
- Repeat the steps above, varying the colors, on as many eggs as desired.
Your Easter eggs are now complete!

For these spring DIYs, I also wanted to offer you a delicate floral garland, made up of origami folds and crepon flowers and decorated with pearls and bells. If you like the idea, I will list the different tutorials used below:
- CREPON PAPER FLOWER TUTORIAL La Jonquille ,
- ORIGAMI TUTORIAL The Flat Marguerite ,
- and the rabbit tutorial that you can find on page 148 of my book “ L'Origami Comme Par Magie, Volume 2 ” or another rabbit folding that you can rediscover on the blog “ TUTO Le Lapin en Volume en Origami ”

To make this floral garland, I gathered different small creative supplies: origami paper and pastel crepe paper, colored thread, beads in various colors and sizes, small bells, etc.
The “ Wire & Beads Set - 3m Wire, Yellow - 21 Beads, Yellow, Water Green and Lilac - W ” set is perfect for this garland! These supplies can be found in our “ Threads, Beads and Bells ” category.

To assemble the different elements of this garland, I proceeded as follows:
- by sliding the wire of the garland, using a needle, into the origami rabbit previously pierced right through,
- by tying the thread to the base of the head of the crepe paper daffodil,
- and by sticking the wire in a “sandwich” between the two layers of petals of the origami daisy.

I hope this article has inspired you! If you make one of these DIYs, don't hesitate to share the result with us by email or on social networks.
Have a good start to spring!
Adeline
What is your favorite creation?
In what colorful range would you like to make your spring decorations?


NATHALIE > Merci beaucoup pour votre adorable petit mot Nathalie, aussi bien sur cet article que sur nos livres :) Quel plaisir de vous lire ! Nous sommes ravis d’apprendre qu’ils vous sont utiles !
Oh je suis vraiment fan de la jonquille ! Quelle belle palette de couleurs dans cet article, tout est magnifique ! J’ai plusieurs livres “Adeline Klam” (La bible du papier, L’origami comme par magie, …), je les utilise beaucoup ils sont très bien conçus et très inspirants ! Merci pour tout !
Leave a comment