


TUTORIAL The Flower Nest for Easter
A few weeks ago, I made an Easter creation in partnership with “Créative” magazine. For the occasion, I am happy to share with you this flower nest, as well as its tutorial.
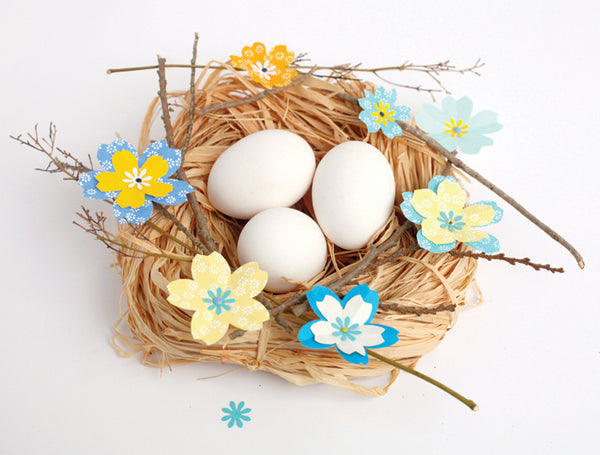
This cherry blossom folding can also be used for your spring decorations, for example by attaching the flowers to a large branch.
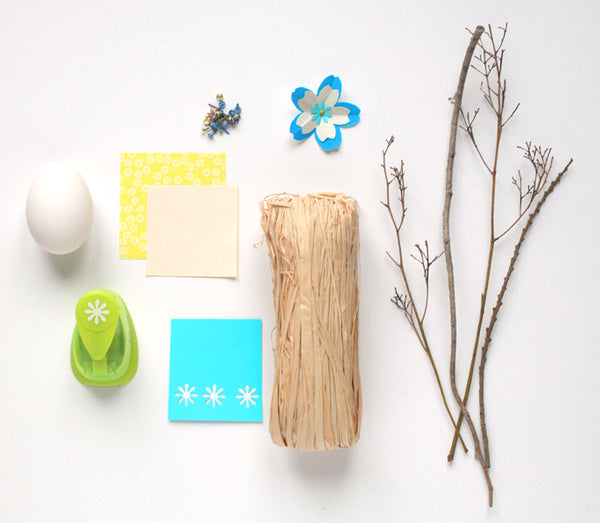
To make a flower nest, you will need :
- 1 square of Japanese paper measuring 6cm by 6cm in the colors and patterns of your choice to achieve 1 cherry blossom (1 square therefore corresponding to 1 cherry blossom)
- Parisian fasteners
- a 16mm diameter “daisy” punch
- a pair of scissors
- a bundle, a ball of raffia
- eggs (chocolate, or hollowed out and decorated)
- small wooden branches
CHERRY BLOSSOM FOLDING
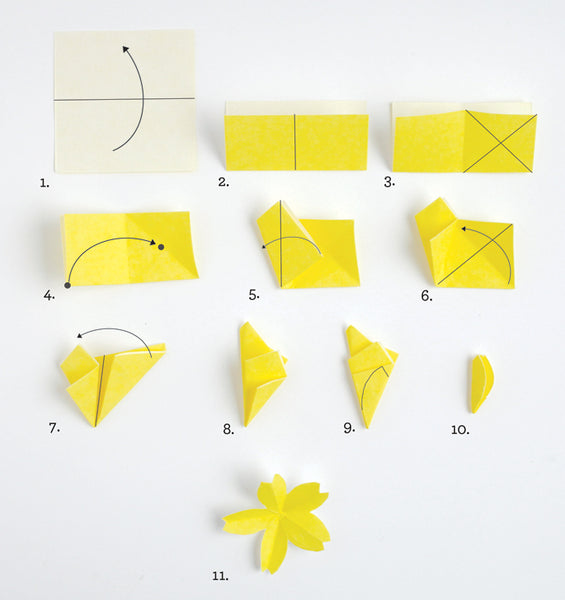
- Take your square of paper, white side facing you. Mark the horizontal median as shown in the photo with the dotted lines.
- Mark the vertical median as shown in the photo with the dotted lines. Unfold.
- Two small squares are in front of you. Mark the diagonals of the right square. Unfold.
- Fold the bottom left corner (of the small square on the left) to the intersection of the diagonals marked previously (of the small square on the right).
- Fold the center corner to the left, in the direction of the arrow, according to the dotted lines.
- Fold the right tip towards the center, in the direction of the arrow, according to the dotted lines.
- Fold in half, passing the right part under the left part.
- You get this.
- Using a pencil, trace your figure as shown.
- Cut out the figure following your pencil line.
- Unfold. Your cherry blossom is ready!

Mounting the flower:
- Take 2 origami cherry blossoms, of slightly different sizes,
- 1 pistil cut using a hole punch
- 1 small brad.
- Slide the brad into the pistil and into the 2 flowers then spread the legs to hold everything.
Nest assembly:
Make the nest, forming a circle with the bundle of raffia and place the eggs there.
Place the small branches around the nest and stick the cherry blossoms on them.


Leave a comment