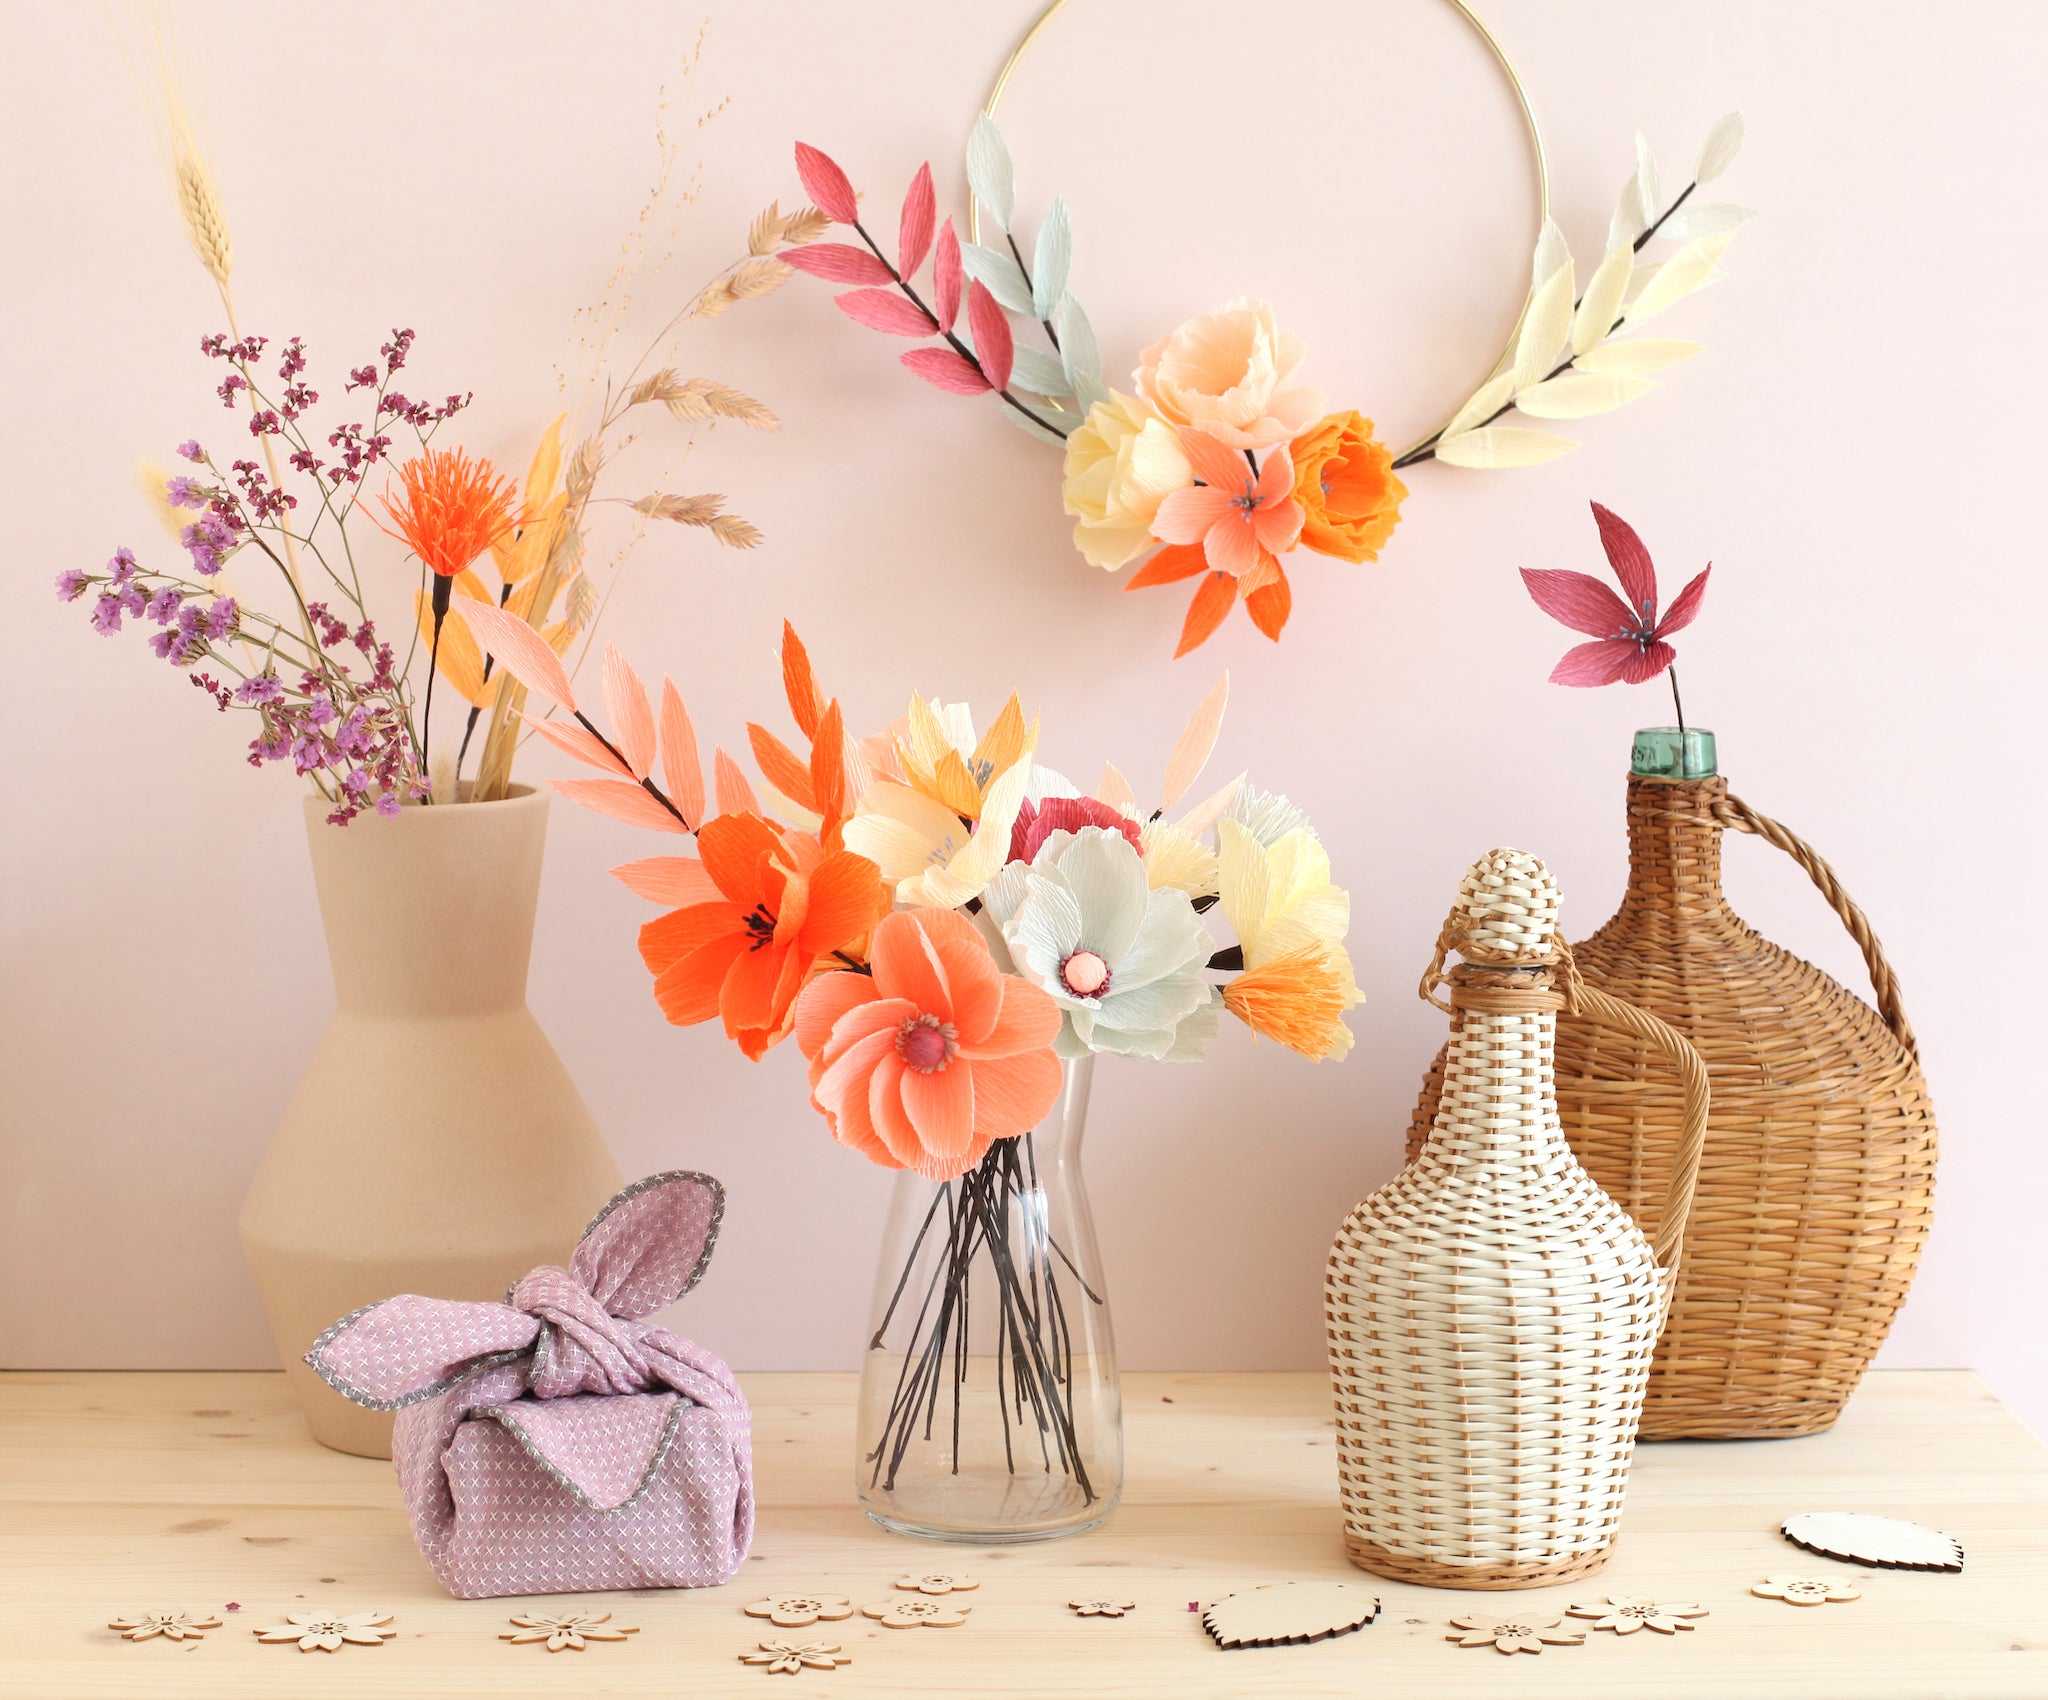
TUTO The simple crepe paper flower
With the gradual arrival of autumn, nature is adorned with warm and flamboyant colors before giving way to the dead calm and emptiness of winter, thus offering us other landscapes to admire.
When nature is no longer able to offer us all its colorful wonders, bouquets of crepe flowers are perfect for decorating an interior sustainably by bringing softness and cheerfulness.
Find here the tutorial for making a crepe paper flower and an autumnal bouquet!


To mark the release of our two new colorful ranges, “Natural” and “Arlequin” , we are offering you the tutorial for one of the flower models present in our kits! This model is ideal for familiarizing yourself with making crepon flowers because it is simple to make due to its reduced number of petals. It will allow you in particular to understand the use of floratape and the handling of crepon.

In order to make a pretty crepe flower, you will need:

- the petals template to download
- crepe paper in the color of your choice
- floratape (or florist’s tape) to match your crepe
- a pair of precision scissors
- “contact” glue
- a bundle of pistils to match your crepon
- a thin stem

- Separate 20 pistils from your bundle. Also prepare a piece of floratape.
- Assemble your 20 pistils using floratape.
- Cut your small bundle of pistils in half, made in step 2.
- Prepare a stem, a piece of floratape (a little shorter than the stem) and your pistils.
- Position your pistils about 1cm on your stem.
- Dress your stem with floratape starting from the base. To do this, wrap the floratape around the stem while stretching it downwards.

- Using your template, cut out your 4 crepe petals. Once your petals are made, position your thumbs in the middle of the petal and stretch it to relax the crepe from the center of the petal.
- Make 3 more petals this way.
- Place a dab of glue at the base of each petal.
- You get this.

- Place the tip of a first petal about 1cm on the green base of the floratape.
- Glue a second petal juxtaposing it on the first.
- You get this.
- Finish by gluing the other two remaining petals.
- Place the floratape again around the base to dress the stem.
- Spread and open the petals one by one to give a pretty shape to your flower.
- Spread the pistils by gently pressing in the center using your fingers.
- TADA! Your flower is finished!
NB: In order to print the template in the correct format on a standard A4 sheet, make sure to scale “100%” in the document's print settings.

If you would like to see how to make a crepe flower on video (and perhaps provide you with additional help when you get started), discover the tutorial below:
I hope you like these new colorful ranges and that these pretty crepe bouquets will find a place in your home!
See you soon for new creative inspirations around Japanese paper and origami! In the meantime, take good care of yourself.
Warmly,
Adeline


ANNIE MARCHETTI > Merci pour votre commentaire Annie ! Pour répondre à votre question, nous n’avons pas choisi de variétés de fleurs particulières pour la composition de nos bouquets variés. Ce sont des fleurs fantaisistes, imaginaires :) Nous avions envie de proposer des modèles simples et variés de fleurs.
bonjour,
je souhaiterais connaître le nom des fleurs choisies comme modèle pour le bouquet.
pourriez vous me le donner s’il vous plaît?.
mme marchetti
Leave a comment