The little origami house
Below is the tutorial to do it simply:
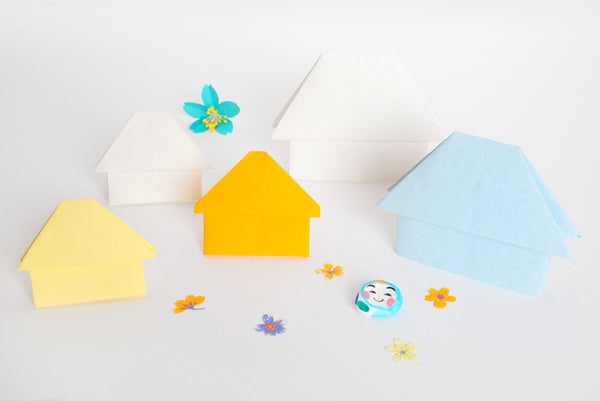
- If you use 15 x 15cm Japanese paper , the house will be approximately 7.5 x 6cm
- If you use 20 x 20cm Japanese paper , the house will be approximately 11 x 8.5cm
- You may prefer plain Japanese paper from the Toyo brand

- Take your square of Japanese paper, white side towards you. Mark (fold and unfold) a central vertical crease, then fold both sides along the line marked by the crease.
- You get this.
- Mark (fold and unfold) a horizontal center crease, then fold the top and bottom along the line marked by the crease.

- You get this.
- Open and fold the figure outwards along the indicated lines (about 1cm apart)...
- ...to get this.
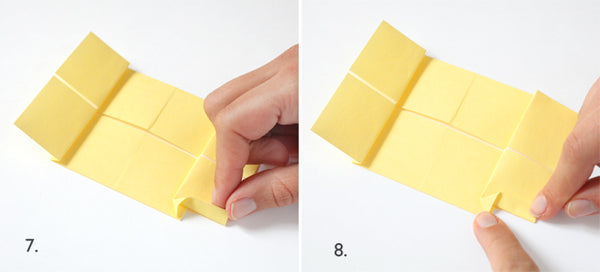
- Take the bottom left corner of the figure and open slightly as in the picture...
- ...and flatten to get this.

- Repeat steps 7 and 8 on all four corners of the figure to achieve this.
- Fold the figure in 2 as shown.
- Mark (fold and unfold) the top right corner along the indicated line.
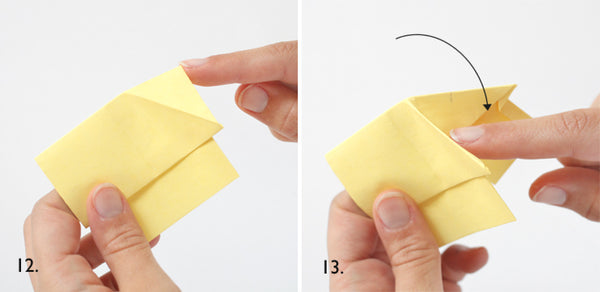
- Slightly separate the two sides of the house...
- ...and fold the indicated part inwards, using the fold marked in step 11.
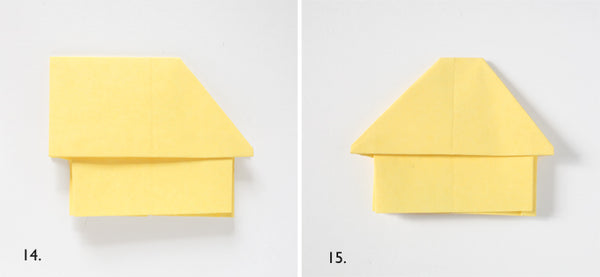
- You get this. Repeat steps 11 through 13 on the left side of the figure.
- TADA! The little house is finished!
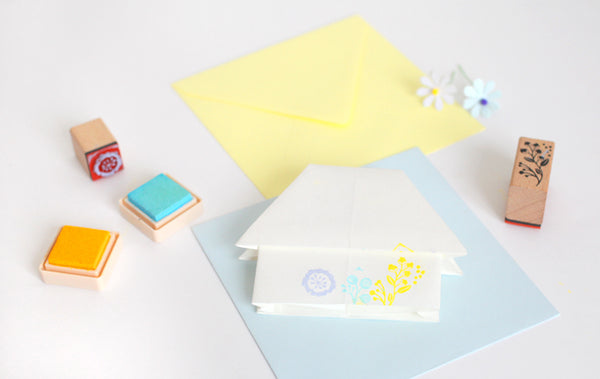
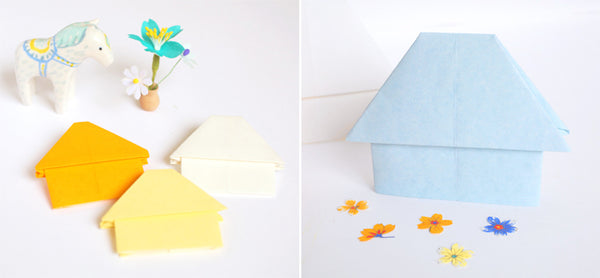
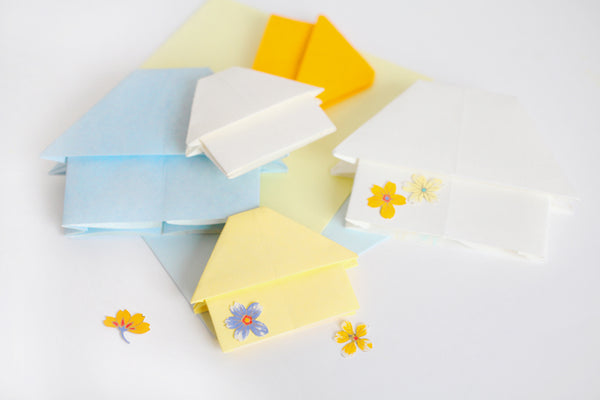
This origami house can be glued to a white flap writing card. It can be decorated and become, for example, an invitation card to celebrate a new address, or simply represent "your house" to send good wishes for a peaceful return to school.
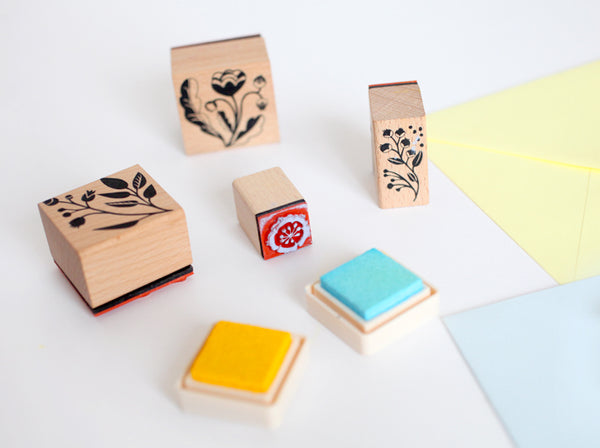
I wanted to paint flowers with gouache and then I told myself that using ink pads could give a very nice result more quickly. But it all depends on whether there are a lot to do: The unique painting piece... or the small series, with the stamp!
I wish you a good weekend, cocooning if you can!
Adeline.


Leave a comment