DIY Advent Calendar made from Japanese paper
Christmas is coming soon ! To bring out the magic of this celebration ahead of time, I suggest you make a pretty Advent calendar with Japanese paper pockets that will accompany you throughout the month of December.
To inspire you, we have made boxes in two colorful ranges, one in bright colors to add light and cheerfulness at the end of the year, and the other black and gold with an elegant and festive look! You are free to choose the papers of your choice according to the colors of your tree and your interior for the holidays.

To make your Advent calendar, you will need:
- the cover template to download and print on A4 format
- 1 sheet of slightly thick, stiff paper
- 4 half sheets of Japanese paper in the colors of your choice (in 1 half sheet, you can make 6 pockets)
- a set of 24 numbered stickers
- 24 little surprises to slip inside the pockets (we give you some ideas further down in the article)
- natural branches (we tell you below where we found them further down in the article)
- 5m of golden thread
- a cutter or a pair of scissors , depending on your preference
- a hole punch
- glue

- Print the pocket template on your sheet of stiff, thick paper with a 100% fit. If you want to make larger pockets, do not hesitate to enlarge the template when printing.
- Cut out the outlines of the template.
- Transfer the cut template to your sheet of Japanese paper.
- Cut out following the outline of the pocket.
- Mark the folds well and fold.
- Assemble the side and bottom of the pouch with glue.
- Repeat the previous steps for the other 23 pockets.
- Fill the pockets with your little surprises.
- Stick a numbered sticker on each pocket.
- Punch the hole in your pocket using a hole punch.
- Cut 20cm of thread for each pocket. Form a loop and close it with a knot.
- Pass the thread through the hole, pass one end through the loop and tighten securely.
- Come hang your little pouches on your branch.
- TADA!

I have a slight preference for this colorful range! Its bright, bold cold colors blend wonderfully with the warm-toned foliage that autumn and winter offer us.
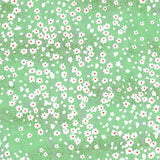
If you want to reproduce it, here are the papers you will need:
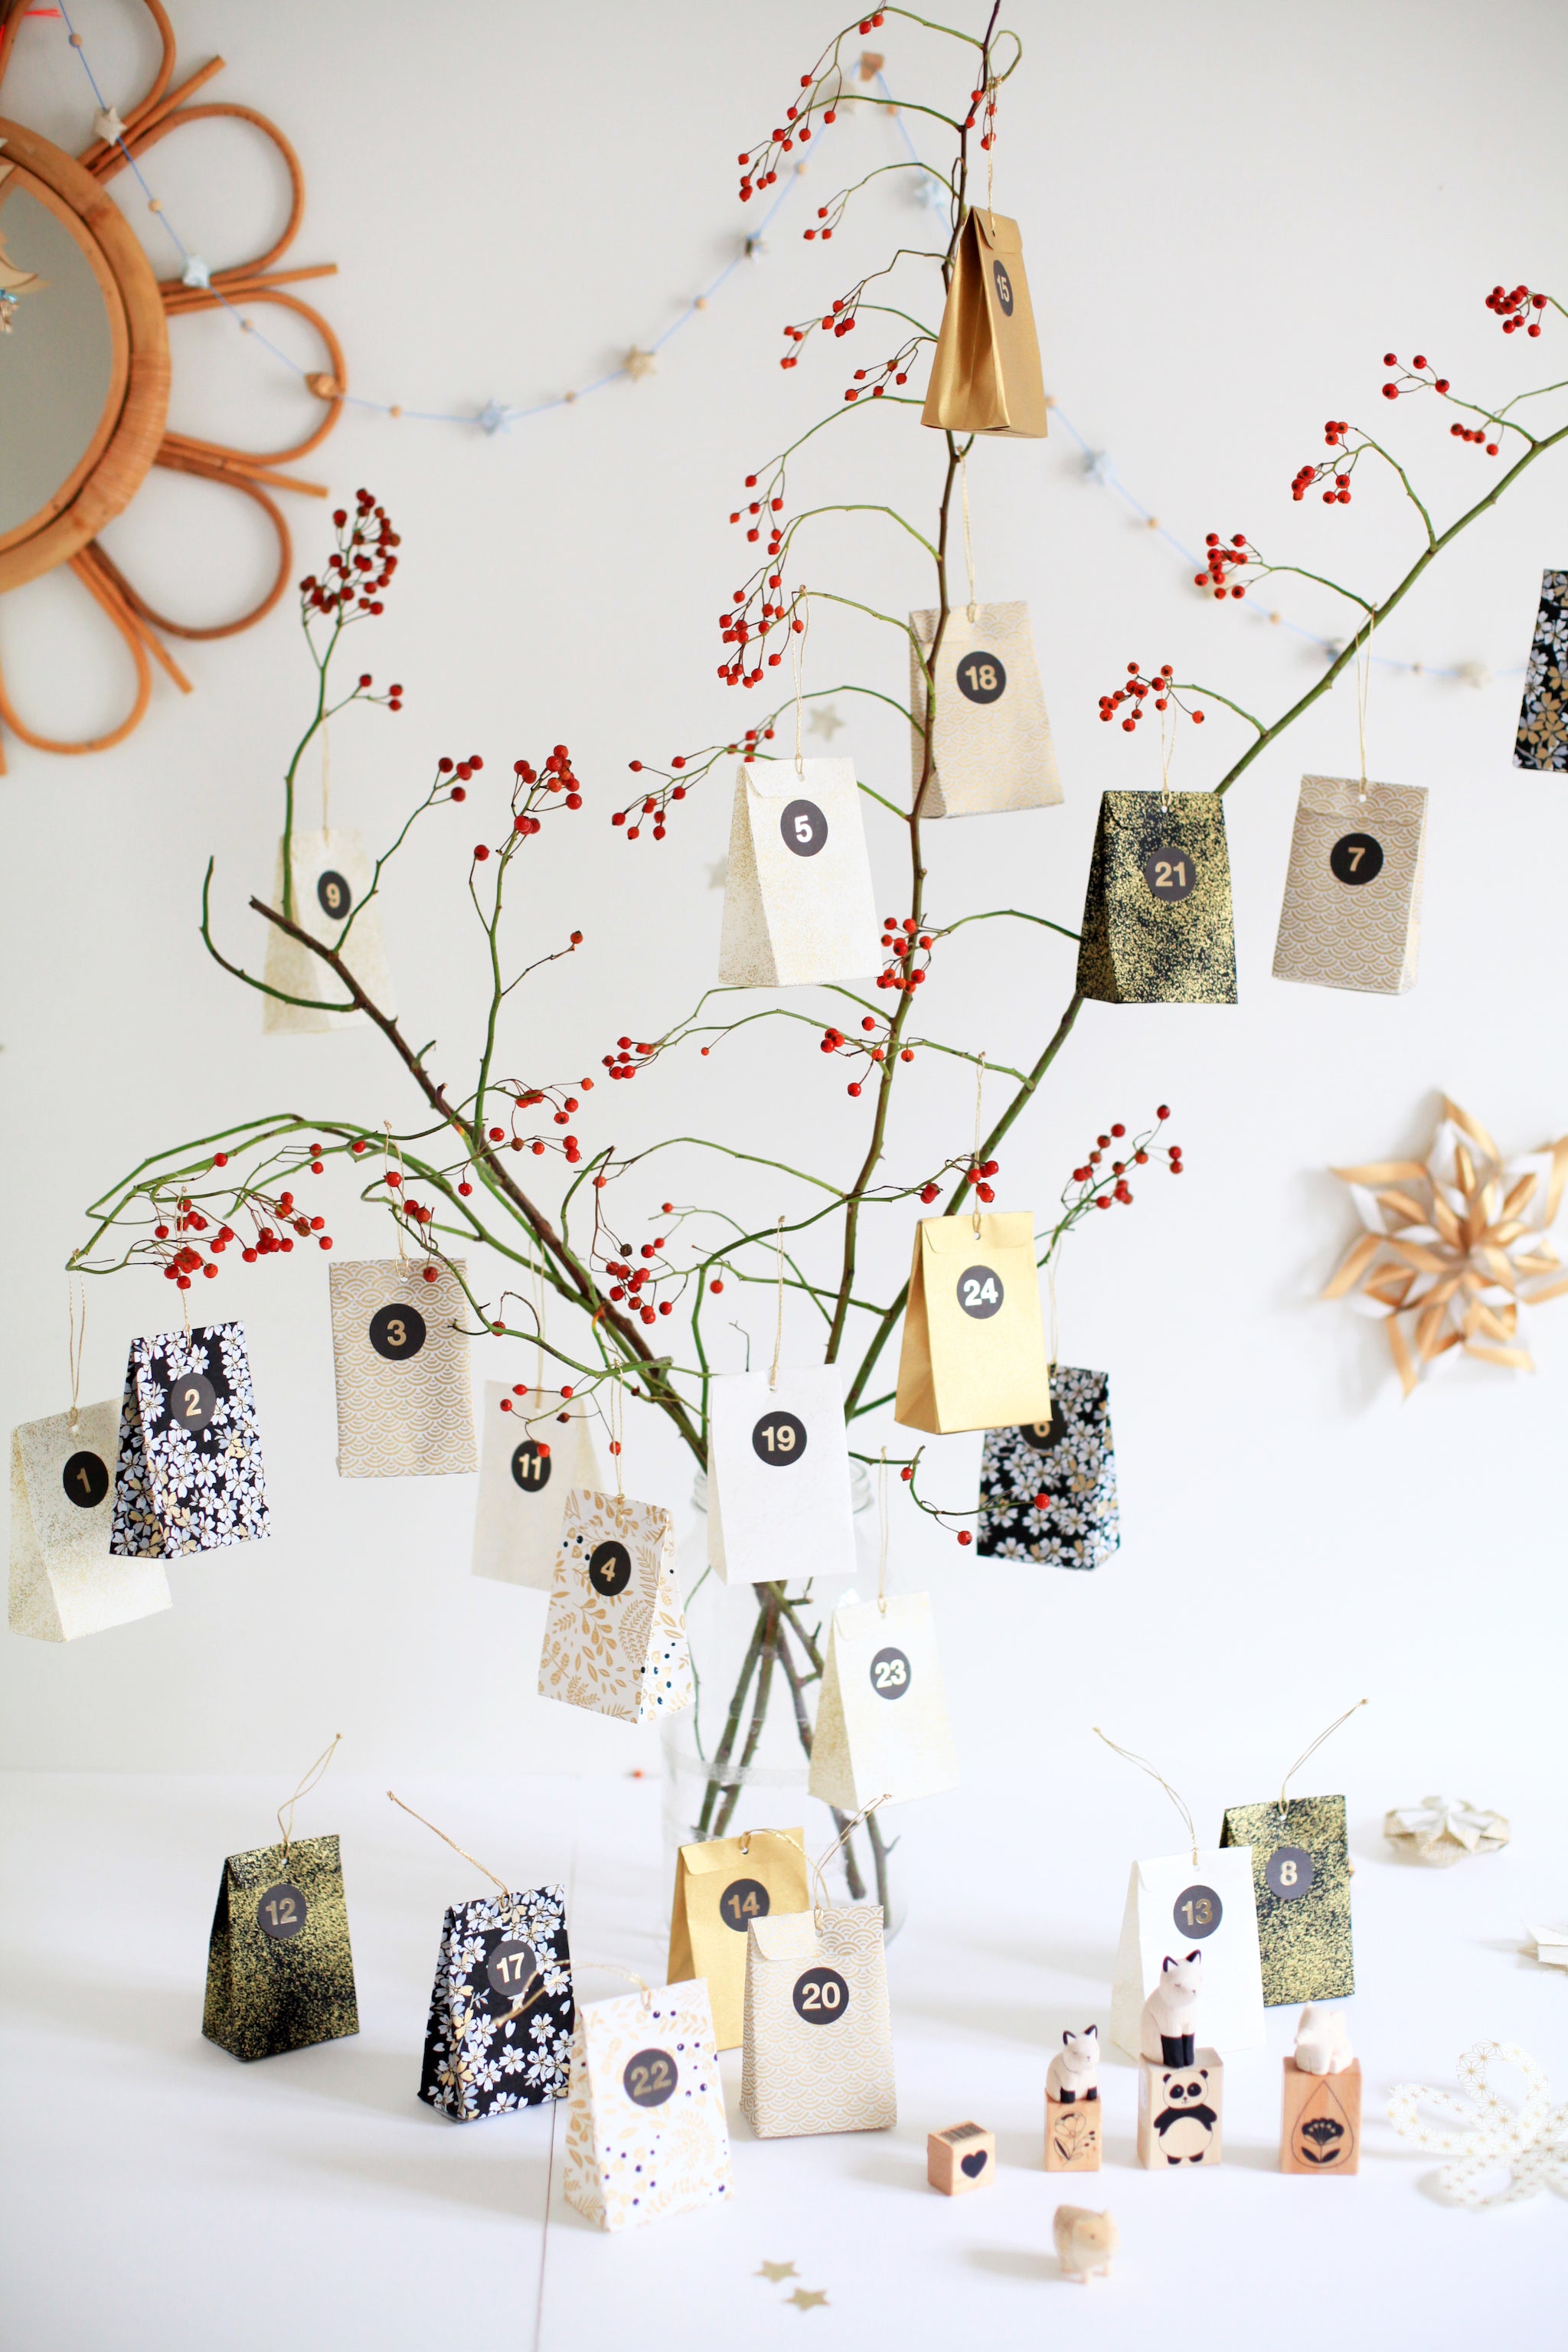
This time, I offer you a more “classic” range for the end of year holidays! I wanted to highlight our gold printed papers that we love so much.
If you want to reproduce this colorful range, here are the papers you will need:

I filled the bags with small colorful gifts: pins , stamps , masking tape , charms , which you can find in store and on the e-shop. You can complete with some sweet and chocolate treats to make each opening of the pouch a little moment of surprise and pleasure!
Here is a selection of small gifts that can fill your pockets:
|
|
||||

To make the 24 pockets of this Advent calendar, I used a set of 24 round self-adhesive dots from the Rico brand. They are available in different colors that you can find in store and on the e-shop. For these two colored ranges, I used the sets of white numbered stickers and the black numbered pellets . 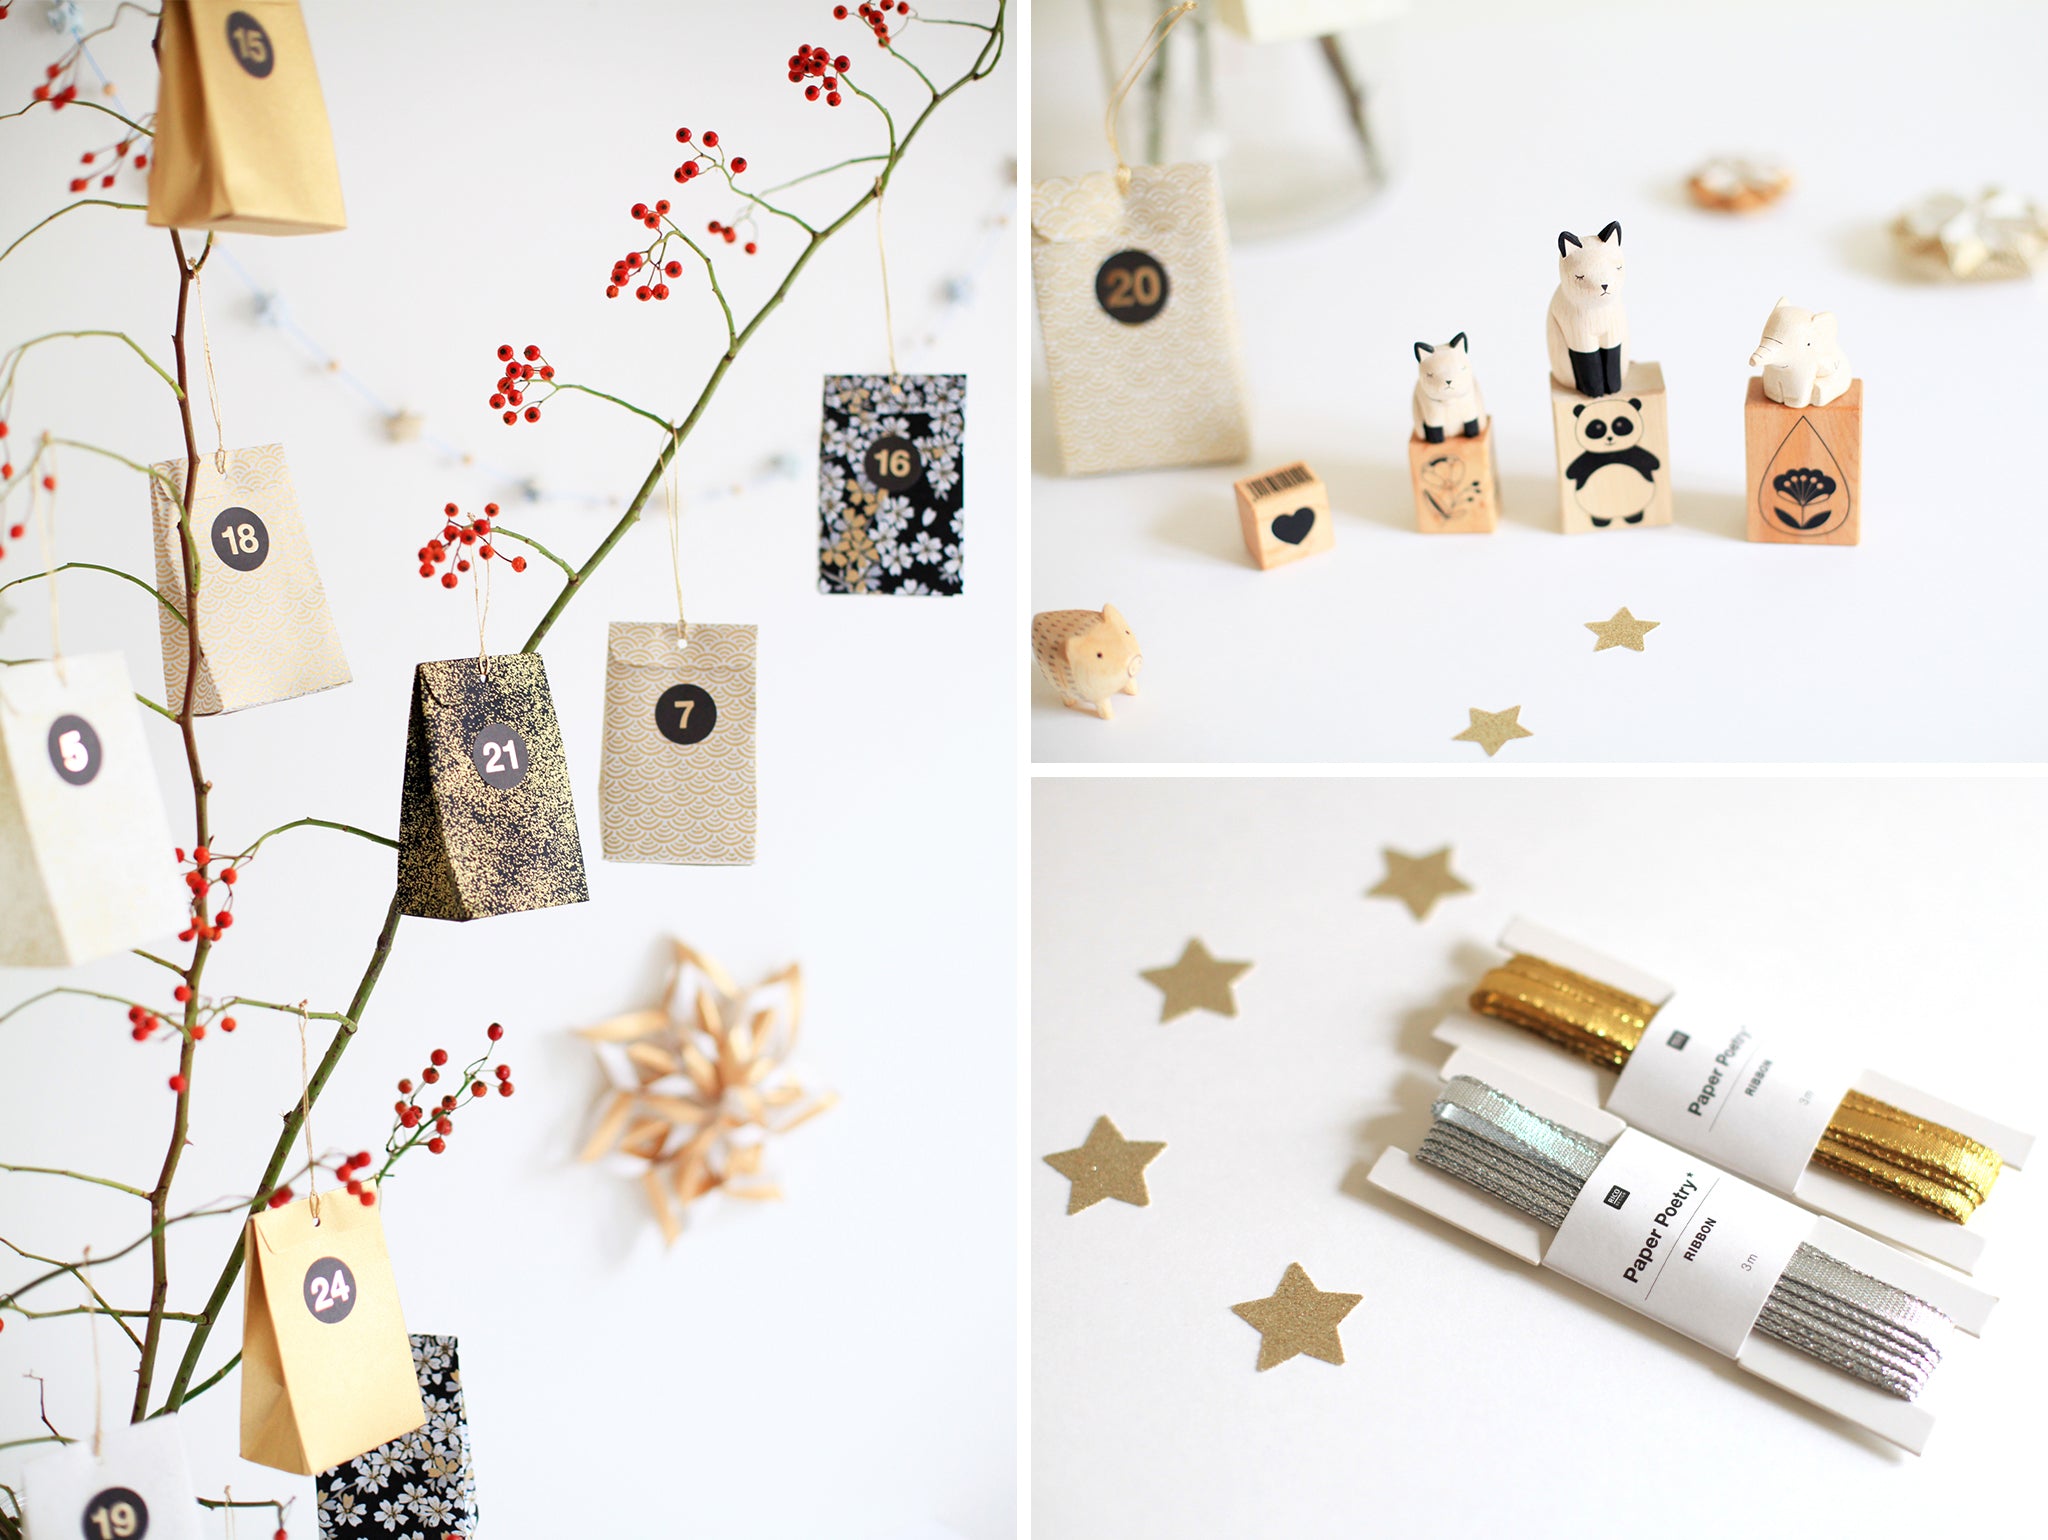
TRICK ! Using a star punch and glitter paper, you can make pretty little golden stars to sprinkle on a center table or to mount on gold wire to make an adorable festive garland.

Origami offers endless possibilities for holiday decorations! For example, I diverted a folding of Tanabata to make this pretty star in volume. If you like this, you just need to fold the volute seven times (or kaitsuzuri ), available in our article on Tanabata, the festival of stars , and then assemble the seven scrolls, using glue.
--------------------
For Parisians, I found my different branches at Christian Morel Florist At 44 rue Oberkampf in the 11th district of the capital. The branch of the blue and green range is ilex and that of the black and gold range is rosehip.
I hope you enjoyed this pretty Christmas DIY and that Japanese paper will find its place in your holiday decorations!
See you soon for new creative ideas at the end of the year,
Adeline
In what color range would you like to make your Japanese paper Advent calendar?













Leave a comment